Table of Contents
With the rapid development of the modern manufacturing industry, the shape of parts is becoming increasingly complex, which raises the requirements for processing efficiency and precision.
CNC turning and milling machine tools set turning and milling functions in one, with multi-axis linkage, multi-process integration and other advantages, to meet the high efficiency, high precision machining, in processing complex shaped parts has a unique advantage.
Although the existing equipment has achieved specific results, further improving the CNC turning and milling machine tool processing efficiency and precision of shaped parts is still an urgent problem.
We are from the current milling machine tools and the characteristics of complex shaped parts, how to develop a simple analysis of the machining process, put forward the basic ideas, and ultimately improve the quality of processing.

CNC milling machine tool overview
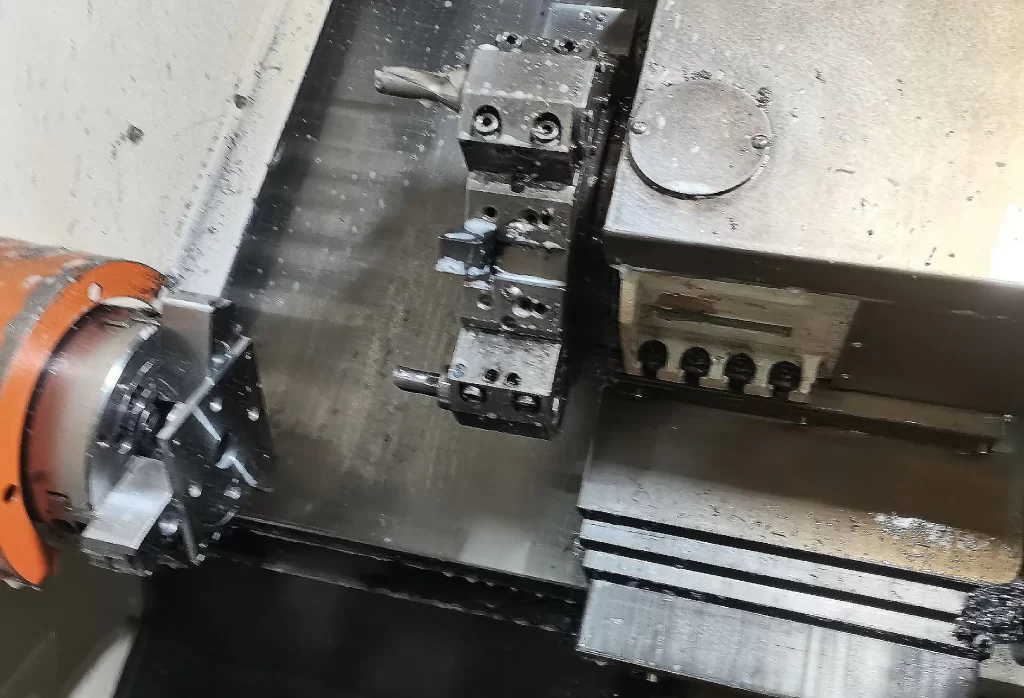
A CNC turning and milling machine tool is a set of turning and milling functions in high-end CNC machining equipment, with multi-axis linkage, multi-process integration, and other significant features.
Compared with the traditional single-processing method, CNC mill-turn machine tools have obvious advantages in processing efficiency, precision, and manufacturing capacity for complex-shaped parts.
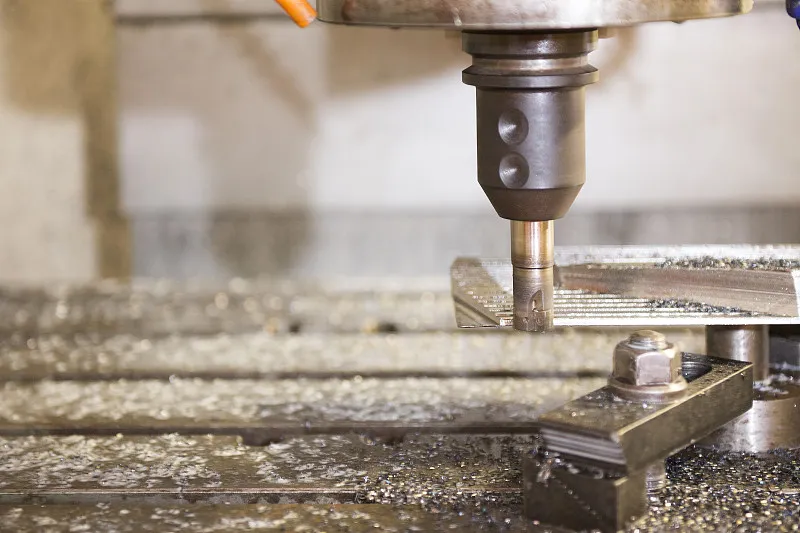
These machines are usually equipped with high-speed, high-precision spindles, can realize C-axis interpolation and milling functions, and can complete the processing of complex surfaces, bevels, threads, splines, and other unique shapes.
Meanwhile, advanced CNC systems and programming software provide powerful support for process planning and optimization of CNC mill-turn machines.
Multi-axis linkage technology enables the tool to move along complex spatial curves, realizing one-time clamping of complex parts to complete machining.
This greatly reduces the number of clamping and machining times and improves machining efficiency and accuracy.
In addition, the CNC milling machine tool integrates automatic tool change, online measurement, adaptive control, and other functions, further improving processing intelligence.
Characteristics of shaped parts
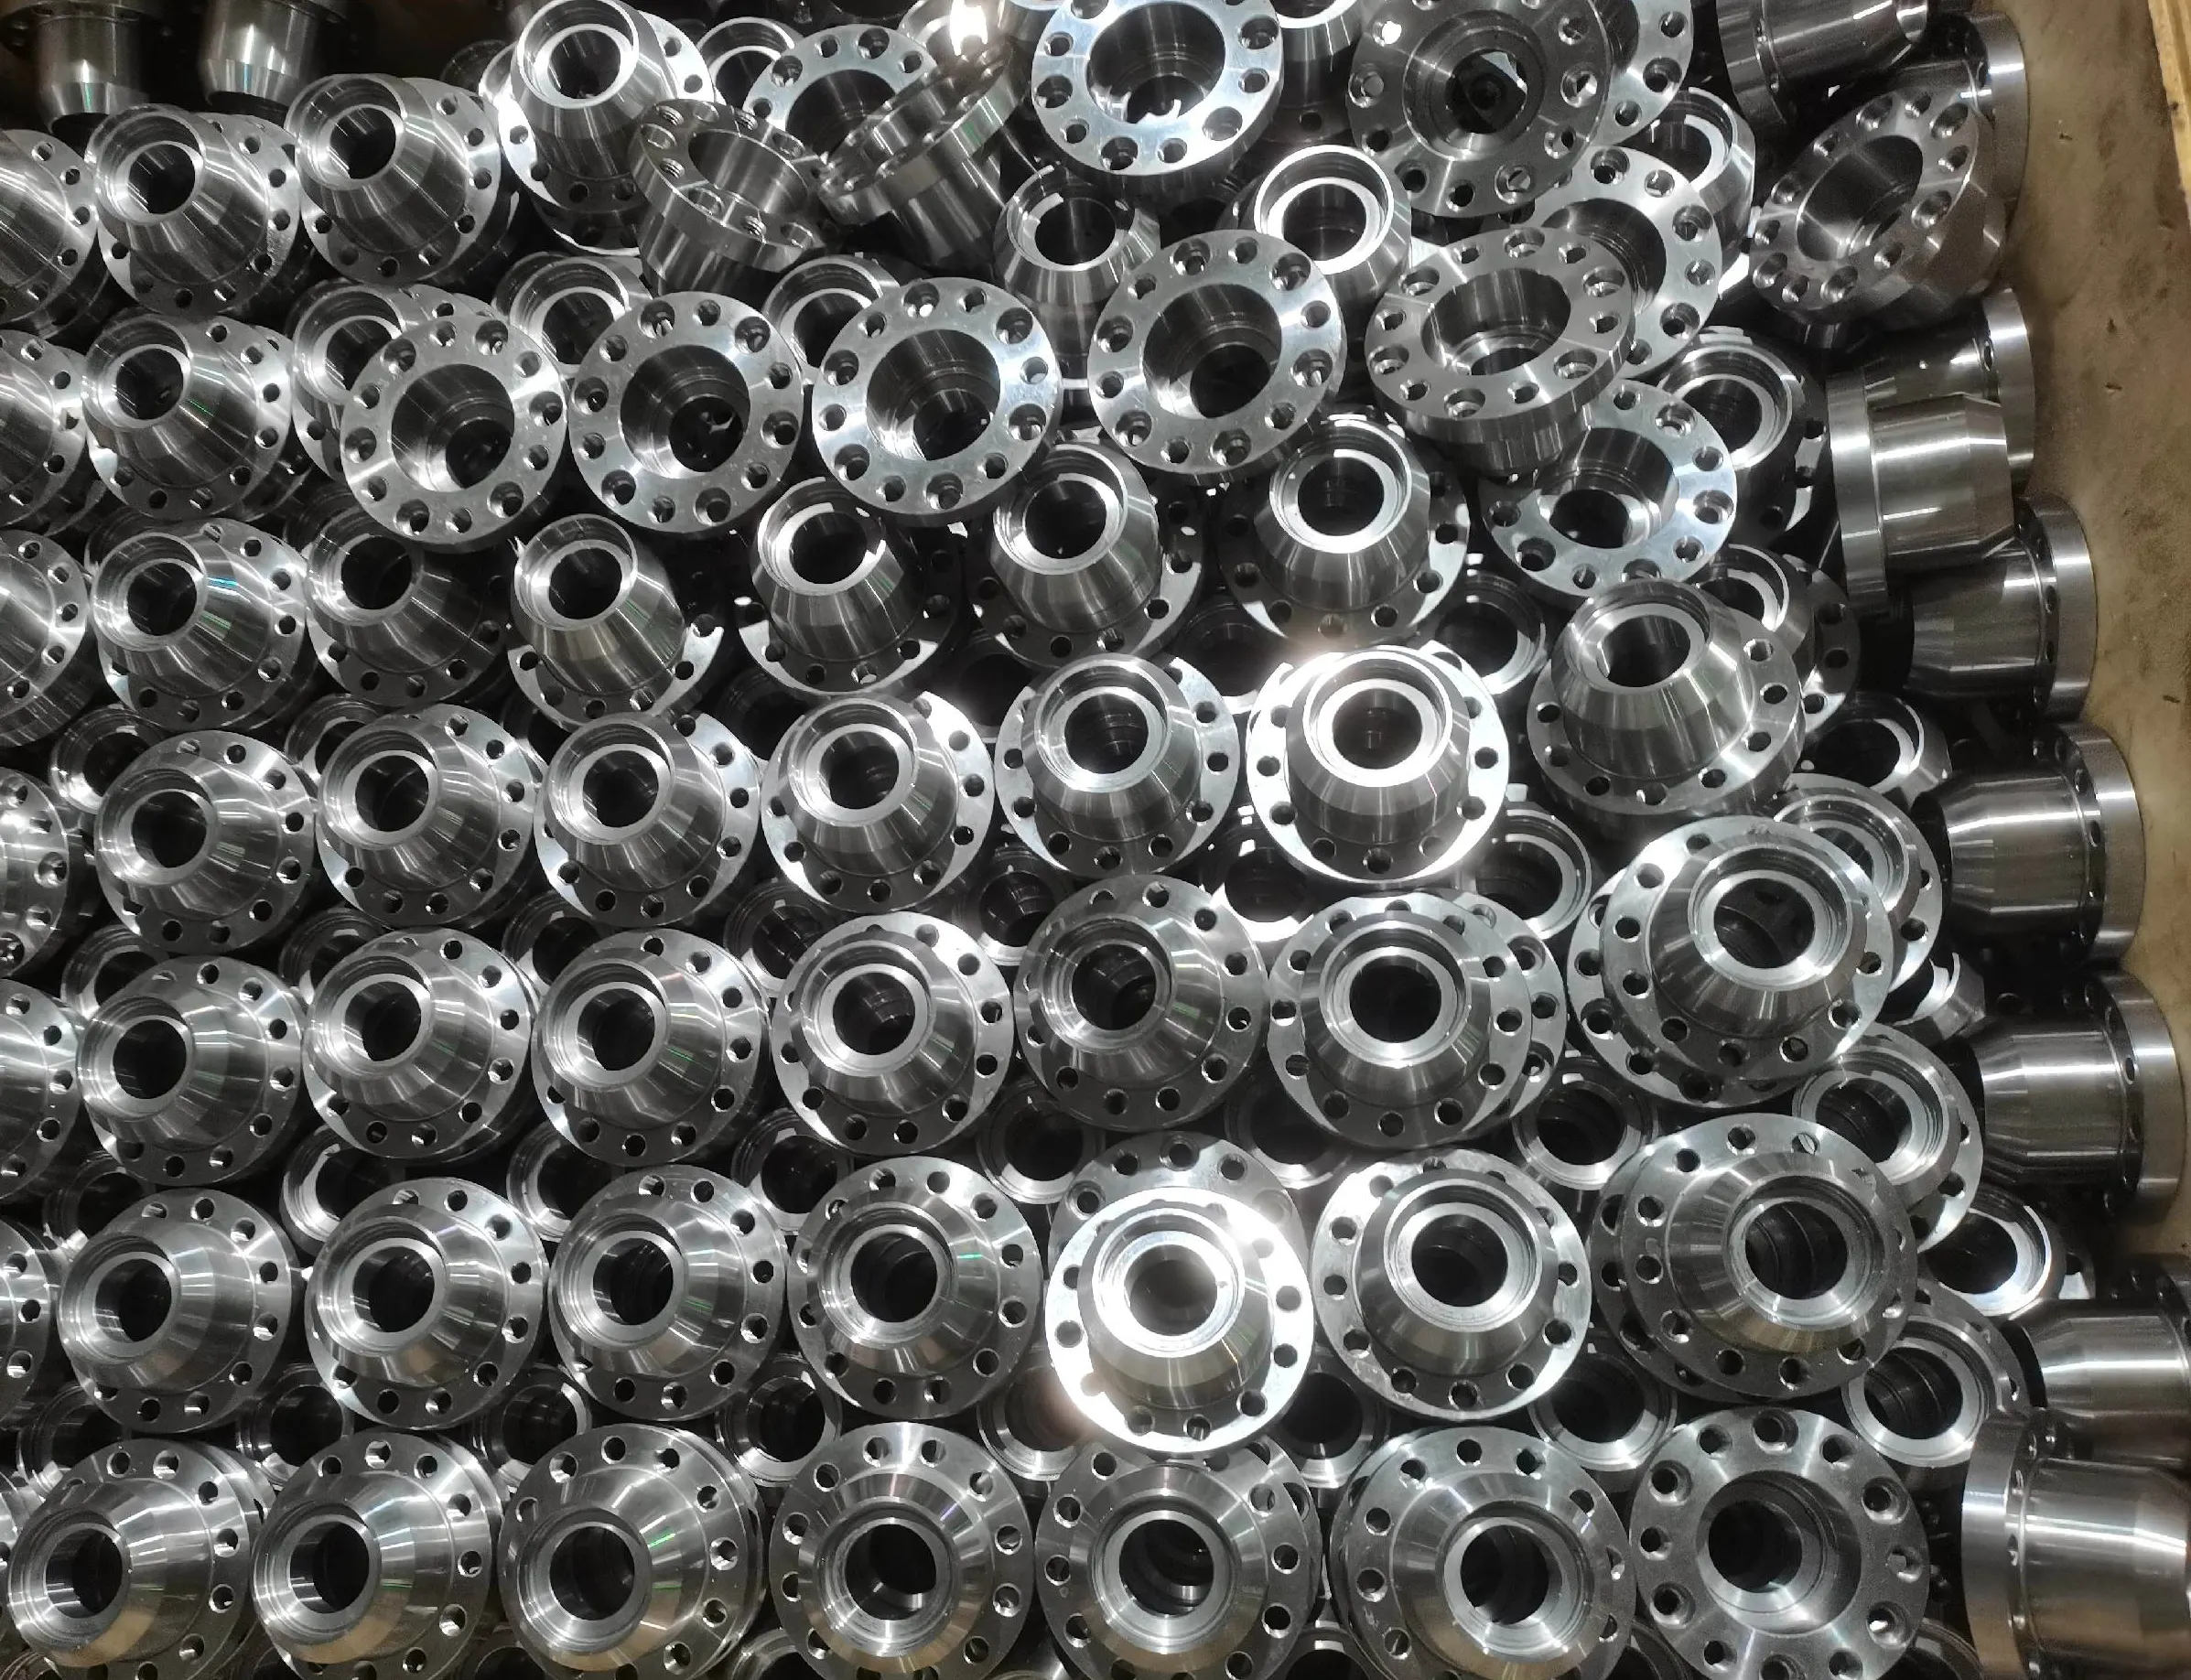
Shaped parts have complex geometry, non-standard structure, and high precision requirements.
Their processing difficulty and high process requirements have challenged the manufacturing industry. The characteristics of shaped parts are mainly reflected in three aspects.
Complex structure
The complex structure of shaped parts usually contains various geometric features, such as free-form surfaces, deep cavities, thin walls, small radii, etc. Machining these features requires multi-axis linkage and precision control.
High quality requirements
Secondly, shaped parts’ dimensional accuracy and surface quality require high requirements. Shaped parts of the shape and position tolerance, surface roughness, and other indicators often reach the micron level, the processing equipment and technology put forward very high requirements.
Variety of materials
Finally, the heterogeneous parts’ material variety includes both common metal materials and difficult-to-process high-temperature alloys, titanium alloys, and so on.
High-efficiency machining process of shaped parts based on CNC mill-turn compound machine tools
Process planning and programming
Process planning and programming are crucial links in the high-efficiency machining process of shaped parts based on CNC milling machine tools.
Creating 3D Solid Models
Firstly, the craftsmen must utilize Computer Aided Design (CAD) software to create three-dimensional solid models of shaped parts.
Through three-dimensional modeling, the craftsmen can comprehensively analyze the parts’ geometric features, optimize the design scheme, and lay the foundation for the subsequent machining process planning.
Toolpath Planning and Machining Programming
Second, after the modeling is completed, the process personnel must use CAM software, such as MasterCAM, PowerMILL, etc., for tool path planning and machining program preparation.
CAM software can automatically identify the part’s machining characteristics, generate a reasonable tool path, and optimize the cutting parameters, greatly improving programming efficiency and quality.
Reasonable selection of cutting parameters
Third, for the materials used in shaped parts, such as stainless steel, aluminum alloys, titanium alloys, etc., craftsmen need to combine the material’s physical properties and machining characteristics and reasonably select the amount of cutting, including cutting speed, feed, depth of cut, etc.
In general, when processing stainless steel, the cutting speed of 30 ~ 50 m – min-1, and the feed 0.1 ~ 0.3 mm – r-1;
Processing aluminum alloy, cutting speed of 200 ~ 500 m – min-1, feed for 0.2 ~ 0.5 mm – r-1;
When machining titanium alloy, the cutting speed is 20 ~ 40 m – min-1, the feed is 0.05 ~ 0.20 mm – r-1.
Optimize cutting parameters
Fourth, while optimizing cutting parameters, CAM software can also intelligently optimize tool paths, such as using equidistant offset paths, equal-height Z-layer cutting, and other strategies, to reduce the empty travel time and avoid frequent lifting and lowering of the tool, which significantly improves machining efficiency.
Virtual simulation using software
Fifth, simulation technology also plays an increasingly important role in process planning.
Using simulation software, technicians can manually simulate the entire machining process before the actual machining, comprehensively review the tool trajectory, cutting parameter settings, interference and collision, and other issues, and find and correct program errors promptly.
Clamp selection
When machining shaped parts on CNC mill-turn machines, selecting fixtures is crucial.
The selection of high-precision special fixtures according to the characteristics of the shaped parts ensures that the workpiece is highly stable and repeatable in the machining process.
Determine the basic types of fixtures
First of all, it is necessary to comprehensively analyze the geometry of the shaped parts, dimensional tolerances, material properties, etc., based on which the basic type of fixture is determined.
For the complex shape and high-dimensional accuracy requirements of the shaped parts, we usually choose a chuck, three-jaw chuck, pneumatic chuck, and other precision fixtures with customized jaw shapes to achieve rapid clamping and accurate positioning of the workpiece.
Hydraulic, combination, and other general-purpose fixtures can be selected for small and medium-sized shaped parts. These fixtures use hydraulic pressure or a combination of positioning to achieve reliable clamping.
For thin-walled parts, priority is given to the use of vacuum adsorption fixtures or magnetic fixtures. These fixtures use vacuum suction or magnetic force to achieve solid clamping of the workpiece while avoiding local deformation.
Machining accuracy of fixtures
Secondly, the machining accuracy of the fixture is a key factor to consider when selecting.
To ensure high repeatability of workpiece clamping, the manufacturing accuracy of the fixture should be at least one level higher than that of the workpiece, and the geometric error of the positioning reference surface should be controlled within 5 μm.
Evaluation Fixture
Finally, in the case of multi-angle and multi-side machining, it is necessary to evaluate whether the fixture has good repositioning performance and sufficient rigidity to ensure the consistency of the workpiece position during multiple clamping.
Machining Execution and Monitoring
In the execution phase of the machining of shaped parts, it is crucial to fully utilize the technical advantages of CNC milling and turning machines.
Automatic tool change system
First of all, the CNC milling machine tool is equipped with an advanced automatic tool-changing system, a tool magazine capacity of more than 60, and the ability to accommodate all kinds of turning tools, milling tools, and drilling tools.
The CNC system automatically selects the required tools from the tool magazine according to the machining process’s requirements and quickly installs them on the tool holder.
The whole process of tool change is automatically completed by the robot arm or turret and other institutions, and the tool change time is generally 2 to 3 s. The CNC system also controls the tool change time.
Real-time monitoring
Secondly, real-time monitoring and adaptive control in machining should not be ignored.
The machine tool has built-in a variety of sensors, such as temperature and vibration sensors, which allow for real-time acquisition of spindle temperature rise, cutting force, tool vibration, and other key parameters.
When the monitoring data exceeds the preset threshold, the CNC system automatically adjusts the spindle speed, feed rate, and other cutting parameters or timely interrupts processing and alarms based on the feedback from the monitoring data.
Thus, it effectively avoids abnormal processing conditions caused by tool wear, workpiece damage, and other issues to ensure the stability of the machining quality.
For example, when the spindle temperature rises to 80 ℃, the system can automatically reduce the spindle speed by 20% and start the cooling system to reduce the temperature to 60 ℃ and below.
When the cutting force exceeds 800 N, the system can appropriately reduce the feed rate and depth of cut, and send an alarm signal to remind the operator to check the tool status or optimize the cutting parameters.
Online Detection and Compensation
Finally, online detection and compensation for machining accuracy are the keys to ensuring high part accuracy.
CNC milling machine tools are usually equipped with probes, line scanners and other online measurement equipment, real-time measurement of the machining process of size, shape and location tolerances and other key quality characteristics, of which the repeatability of the probe positioning accuracy of up to 1 μm, the line scanner measurement accuracy of up to 0.1 mm.
The measurement data is compared with the design model in real time. The machining error is automatically calculated, and the point cloud is generated and stored in the database.
The proprietary algorithm analyzes and processes the measurement data, and the compensation parameters are automatically generated and sent to the tool path generator module and the displacement command unit.
This allows the tool to adjust its virtual position concerning the workpiece, realize dynamic compensation of machining error, and eliminate the cumulative effect of machining error to the greatest extent possible.
Experimental Validation
Experimental design
To verify the effectiveness of the efficient machining process of shaped parts based on a CNC mill-turn compound machine tool, a set of comparative experiments is designed in the study.
A typical shaped part – an aero-engine turbine blade is selected as the experimental object.
The part has a complex twisted profile, a thin-walled structure, and high precision requirements, making it difficult to machine.
The experiment is divided into experimental and control groups, which adopt different machining processes and equipment, respectively.
The experimental group adopts the high-efficiency machining process proposed in the article, and uses a 5-axis linked CNC mill-turn machine for machining.
This machine’s maximum spindle speed is 24 000 r—min-1, and the positioning accuracy is ±0.003 mm.
The control group adopted the traditional step-by-step machining process, using a 3-axis vertical machining center and an ordinary CNC lathe to complete the milling and turning processes, respectively.
The experiment includes process planning and programming, fixture selection, machining execution and monitoring, tool selection, and other processes, as shown in Table 1.

The experimental evaluation indexes include machining efficiency, accuracy, surface quality, and tool life.
Measurements were done using a coordinate measuring machine and a surface roughness meter. Each group of experiments was repeated 3 times, and the average value was taken as the final result.
The experimental materials were all TC4 titanium alloy, the controlled ambient temperature was 22 ℃ ± 1 ℃, and the cutting fluid concentration was 5%.
Experimental results
Comparing the performance of the CNC mill-turn process with the traditional step-by-step machining process in machining shaped parts obtained a series of valuable data.
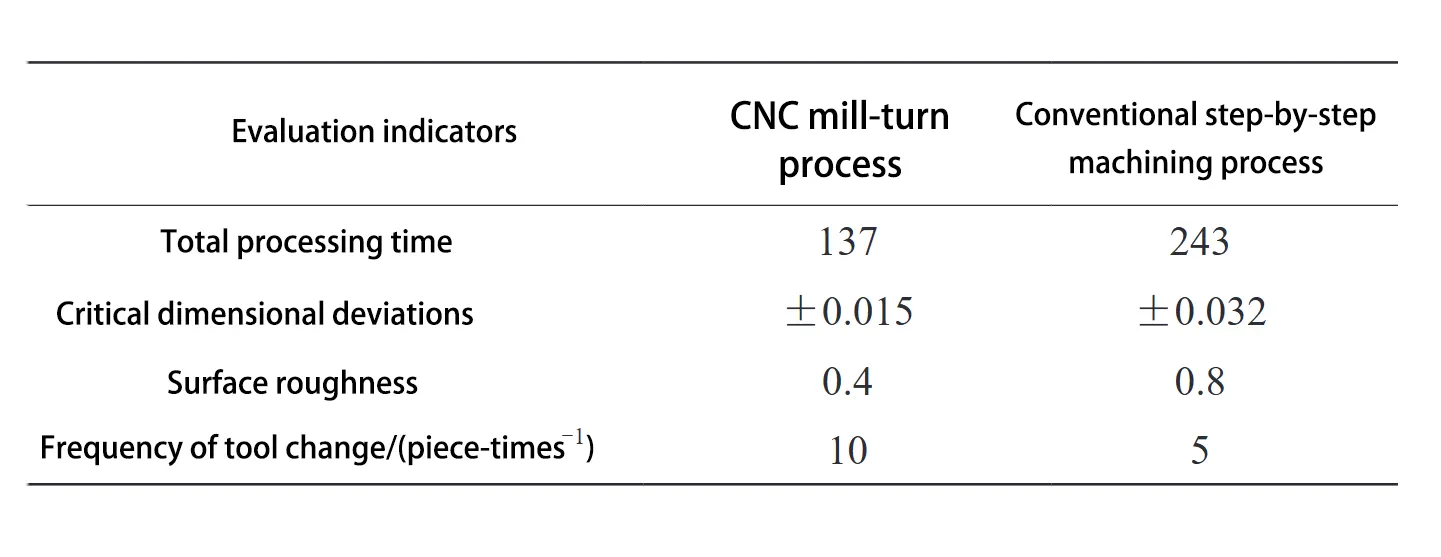
Table 2 summarizes the key indicators of the two processes regarding machining efficiency, accuracy, surface quality, and tool life.

Processing efficiency
First, from the perspective of machining efficiency, the total machining time of the CNC milling and turning process is 137 min, which is 43.6% shorter than the traditional process.
This is mainly because all the machining processes are completed in one clamping, significantly reducing the auxiliary time.
Machining accuracy
Secondly, regarding machining accuracy, the deviation of key dimensions in the CNC mill-turn process is controlled within ±0.015 mm. In contrast, the deviation in the traditional process reaches ±0.032 mm, which reflects the advantage of integrated machining in reducing the cumulative error.
Surface quality
Thirdly, the improvement in surface quality is also very significant. The surface roughness Ra value obtained by the CNC mill-turn process is 0.4 μm, which is 50% lower than that of the traditional process of 0.8 μm, mainly due to the optimized tool path and real-time machining parameter adjustment.
Tool life
Fourth, regarding tool life, the CNC mill-turn process has a tool change frequency of every 10 pieces, compared to every five pieces in the conventional method. This not only reduces the machining cost, but also improves the productivity.
Conclusion
The article discusses the efficient machining process of shaped parts using a CNC mill-turn compound machine tool. It significantly improves the machining efficiency and accuracy of shaped parts through process planning and programming optimization, innovative fixture design, real-time monitoring and compensation, and other means.
The experimental results show that this method has significantly improved machining time, accuracy control, surface quality, and tool life compared with the traditional step-by-step machining process.
Future research can further explore the directions of intelligent process planning, multi-physical field coupling analysis, and advanced material machining technology to cope with the increasingly complex machining needs of shaped parts.


